How to Stop Roof Leaks: A Guide by Select Renovations
Roof leaks are a common issue many homeowners and business owners face, particularly in areas like Fraser, Michigan , where the weather can be unpredictable. A leaky roof can lead to severe water damage, structural issues, and even health hazards if not addressed promptly.
At Select Renovations , we understand the urgency of stopping roof leaks and protecting your home’s roofing from further damage. Learn how to stop roof leaks with this guide. We will walk you through identifying roof leaks, understanding their causes, implementing temporary fixes, and knowing when to call a professional.
Let’s dive in.

Identifying the Source of Roof Leaks
Spotting a roof leak early can save you from costly repairs down the road. Some of the most common signs include:
- Water Stains : Yellow or brown stains on your ceiling or walls are telltale signs of a leak.
- Mold or Mildew Growth : Persistent dampness can lead to mold or mildew, which poses health risks.
- Peeling Paint or Wallpaper : Excess moisture can cause your walls to deteriorate.
- Dripping Water : Obvious but often overlooked, any water dripping from your ceiling is a clear sign of a problem.
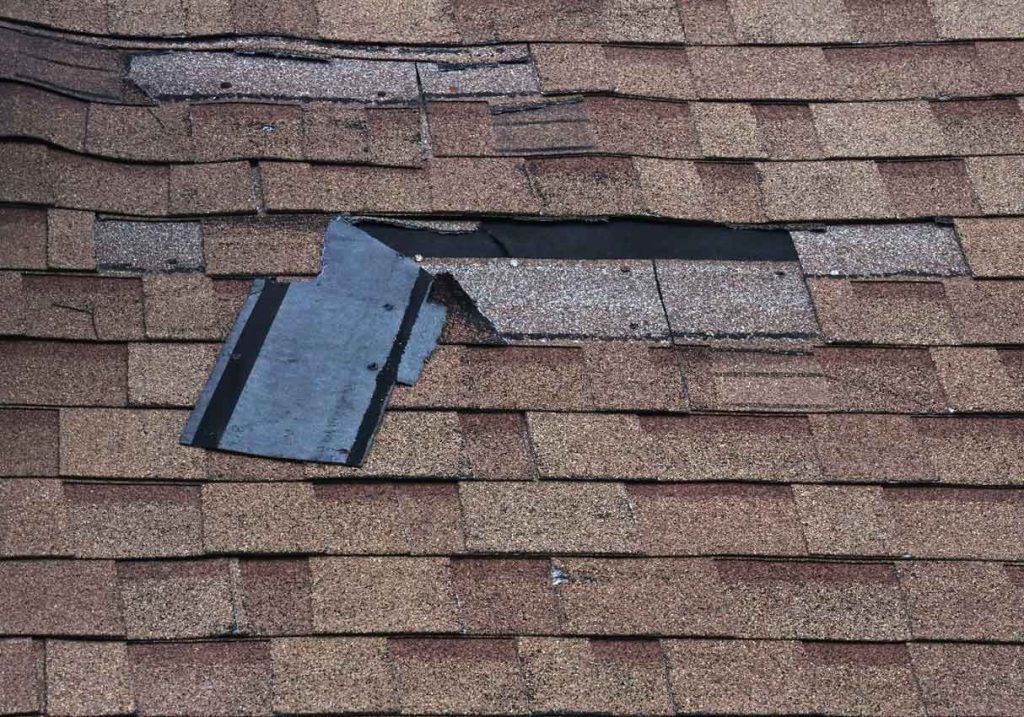
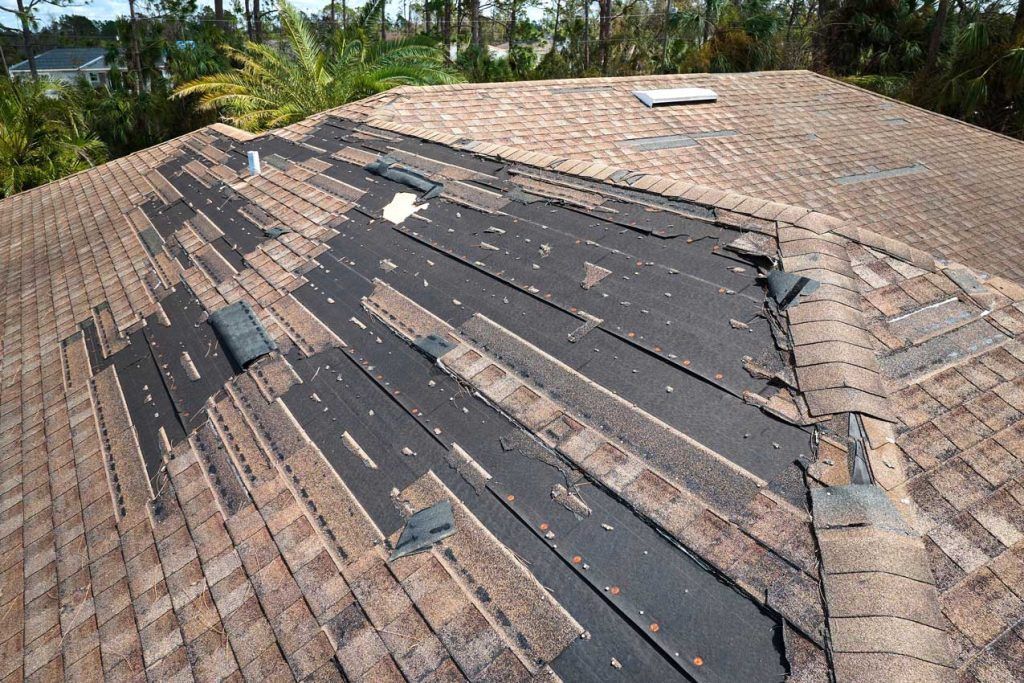
- Damaged Shingles : Missing, curled, or cracked shingles can be a direct pathway for water to enter your home.
- Sagging Ceiling : If your ceiling starts to sag, it could indicate a significant amount of water accumulation.
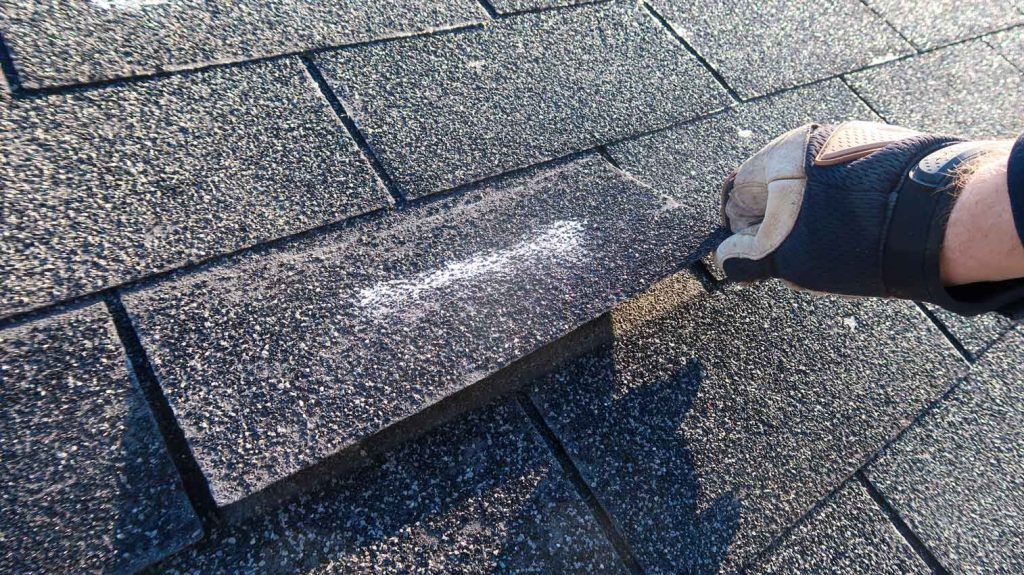
How to Inspect Your Roof
Before diving into leak repairs , it’s crucial to perform a thorough inspection to identify the exact source of the leak. Here are some steps you can follow:
- Check the Attic : The attic is often the first place leaks are visible. Look for any signs of water damage, such as wet insulation, mold, or streaks on the walls.
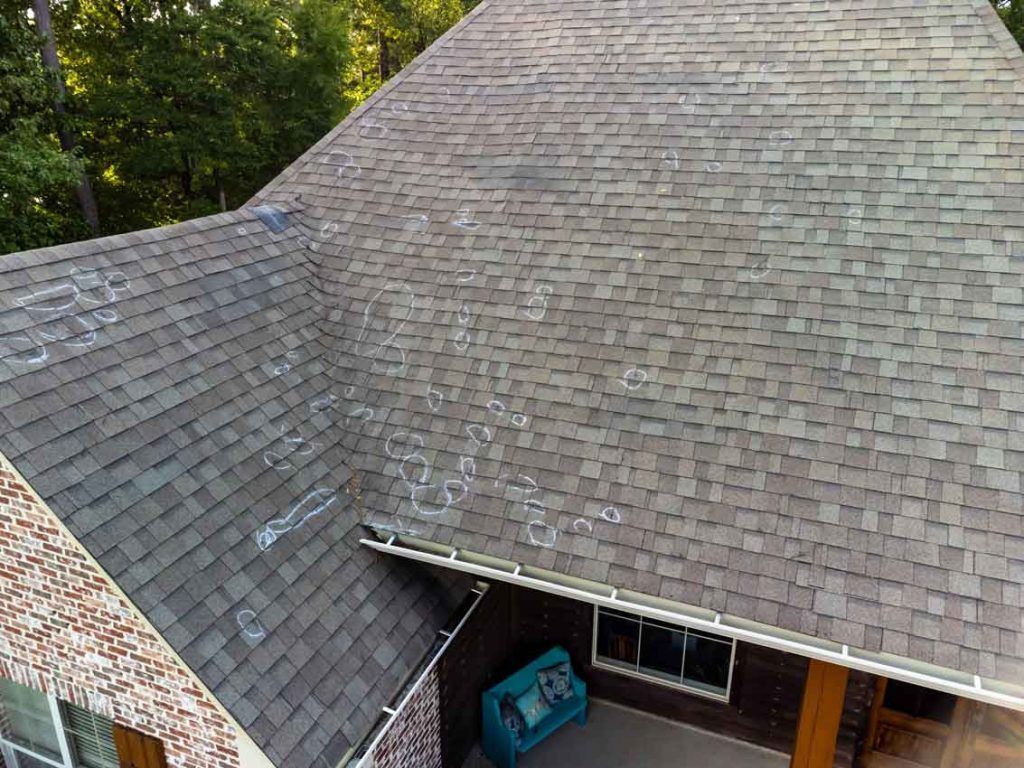
- Inspect Shingles : Examine your roof shingles for any damage, such as cracks, missing pieces, or curling edges.
- Examine Flashing : Flashing around chimneys, vents, and skylights can deteriorate over time. Check for any signs of corrosion, displacement, or damage.
- Gutter Check : Clogged gutters can lead to water overflow, causing leaks. Make sure your gutters are clear of debris.
- Look for Vent Booting Issues : The rubber around your roof’s vent pipes can crack over time, leading to leaks.
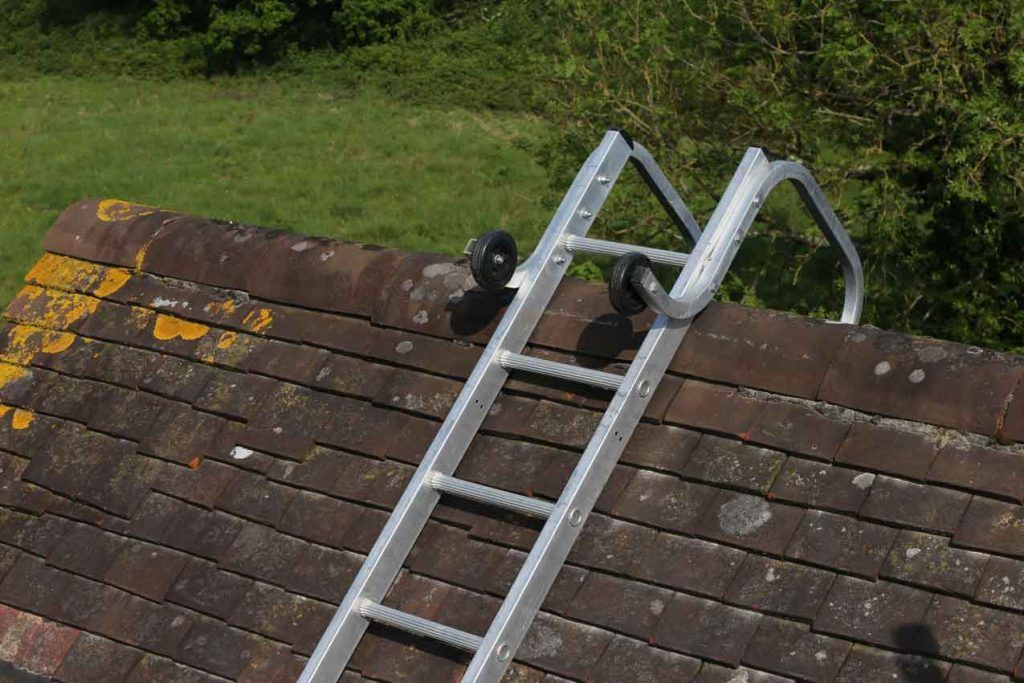
Tools Needed for Inspection
- Ladder : A stable ladder is essential for safely reaching your roof.
- Flashlight : Useful for spotting leaks in dimly lit areas like the attic.
- Roofing Hammer : Handy for tapping on shingles and checking their stability.
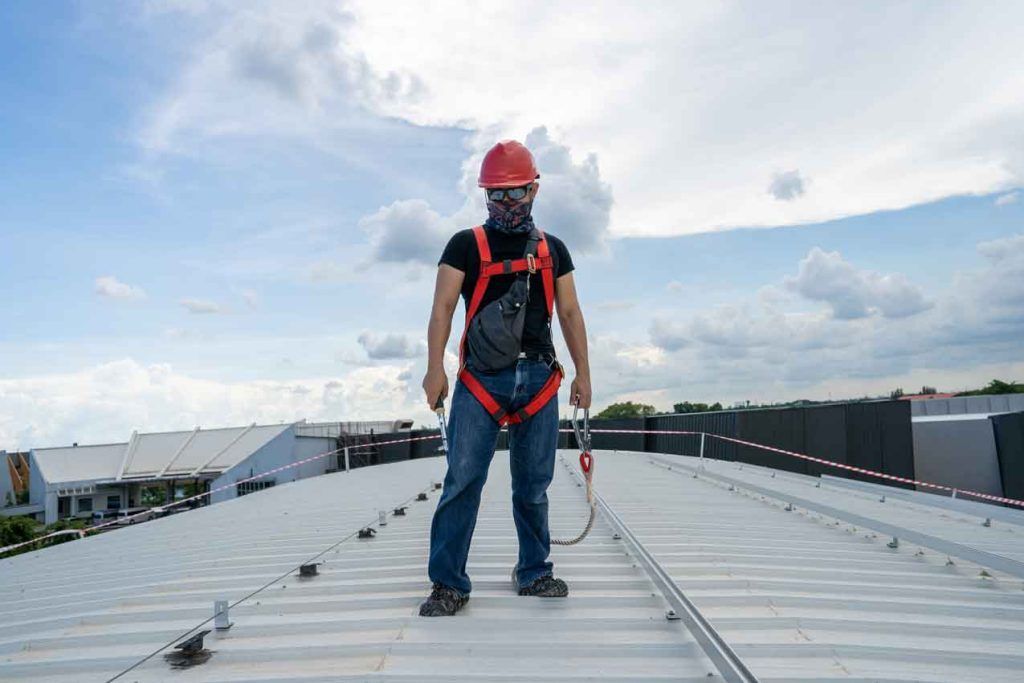
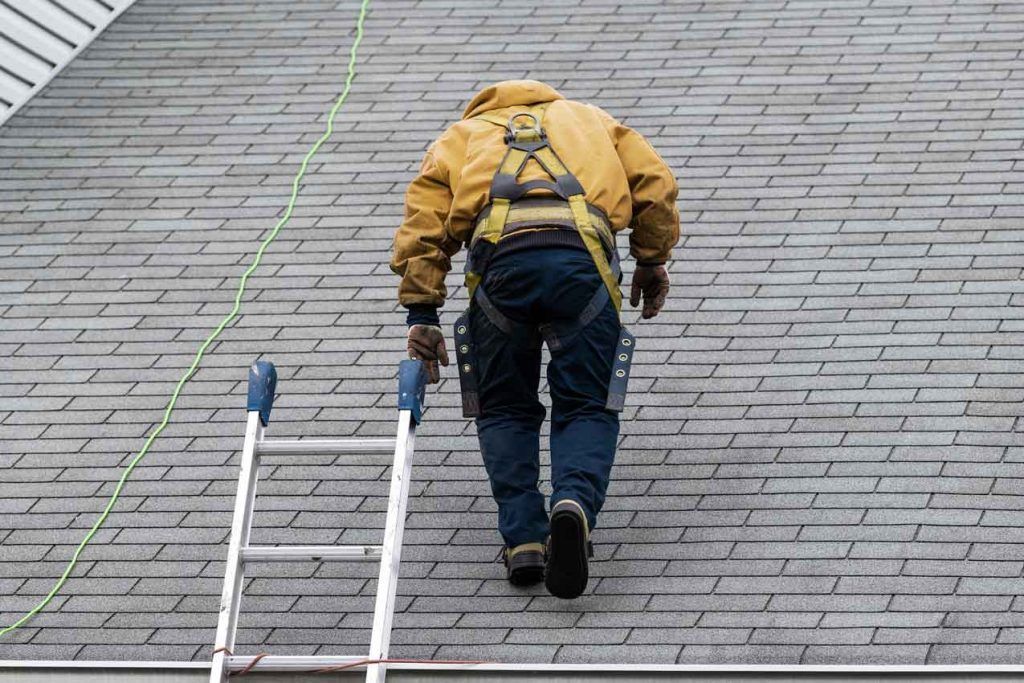
- Safety Gear : Gloves, safety glasses, and a harness for those comfortable climbing on their roof.
- Camera or Smartphone : Take pictures of any damage you find for reference when consulting with a professional.

Common Causes of Roof Leaks
Understanding what causes roof leaks can help you prevent them in the future. Here are the most common culprits:
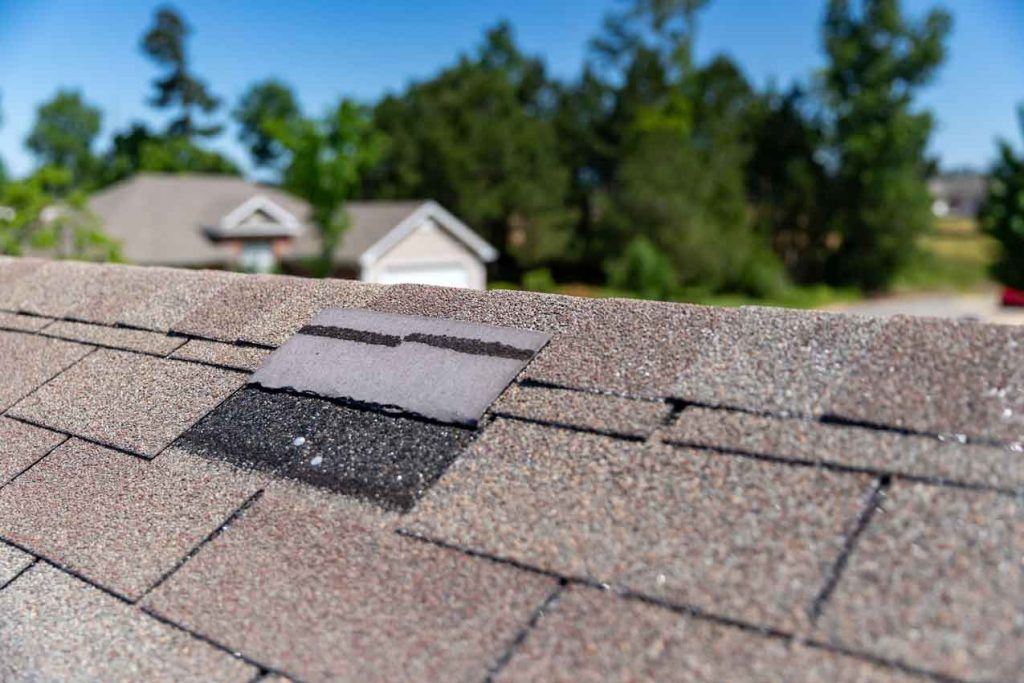
Damaged or Missing Shingles
Shingles protect your roof from the elements, but over time, they can become cracked, curled, or even go missing. Heavy rain, wind damage, or simple wear and tear can leave your roof vulnerable to leaks. Broken shingles are a hazard and should be fixed quickly.
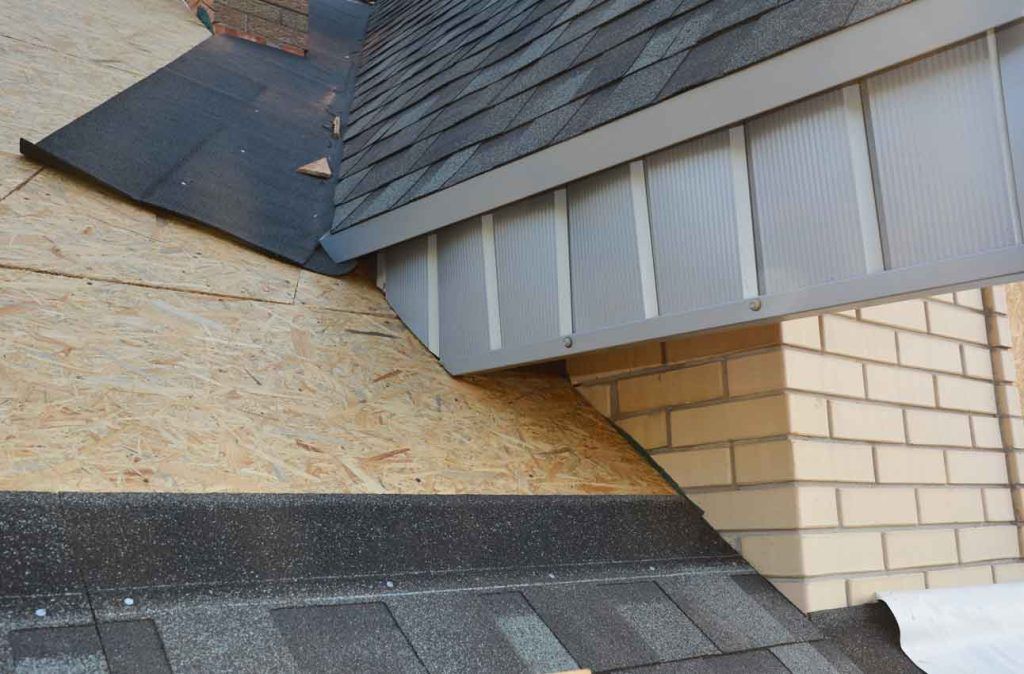
Poorly Installed or Worn Flashing
Flashing is the material that seals joints and seams on your roof, particularly around chimneys, vents, and skylights. If it’s improperly installed or deteriorates over time, water can seep through and cause leaks. Worn flashing leaves your home vulnerable to rainwater.

Clogged or Damaged Gutters
Gutters are designed to direct water away from your roof and foundation. However, when they become clogged with debris, water can back up and overflow, leading to multiple leaks.
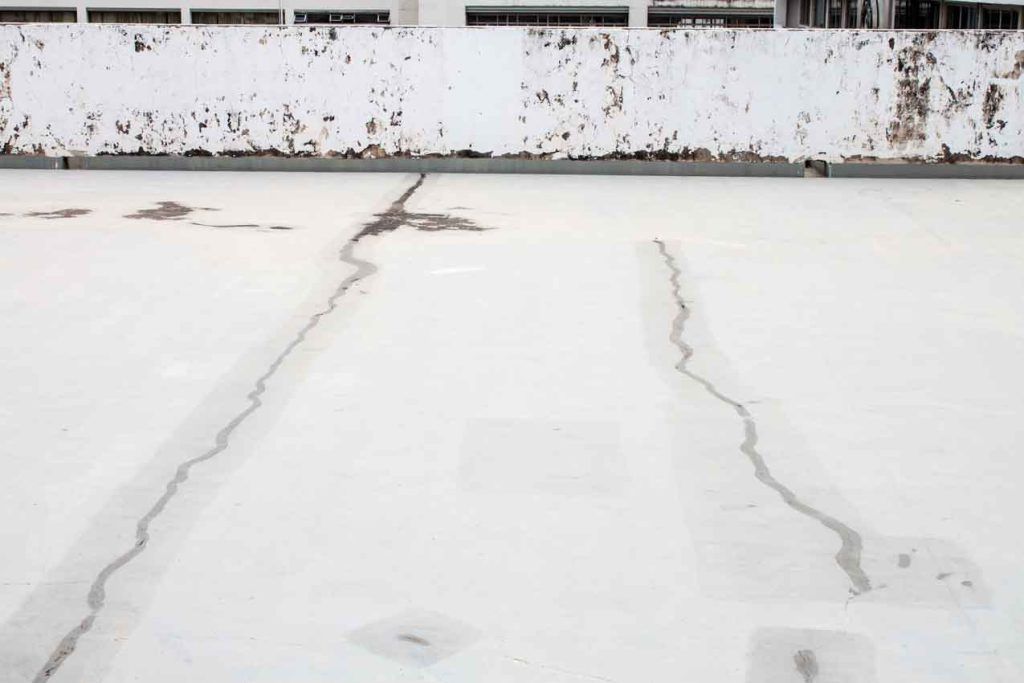
Cracked or Worn Sealants
A sealant or cement around your roof’s edges, vents, and other protrusions can crack and deteriorate over time, creating openings for water to enter
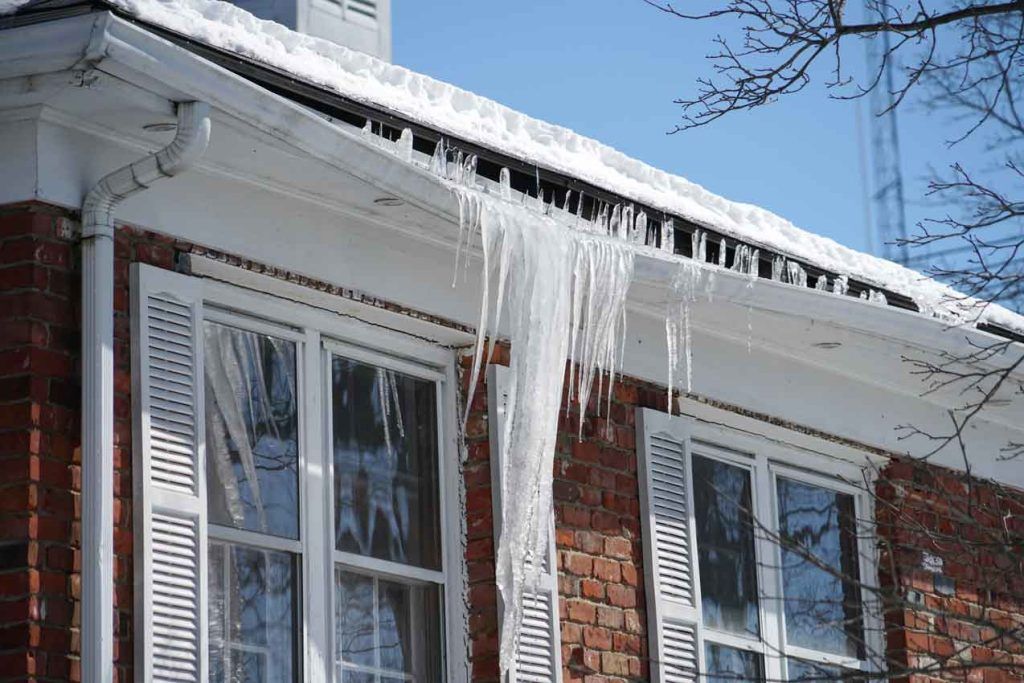
Ice Dams
In colder climates like Michigan, ice dams can form when snow on your roof melts and refreezes at the eaves, trapping water under the shingles and causing leaks.
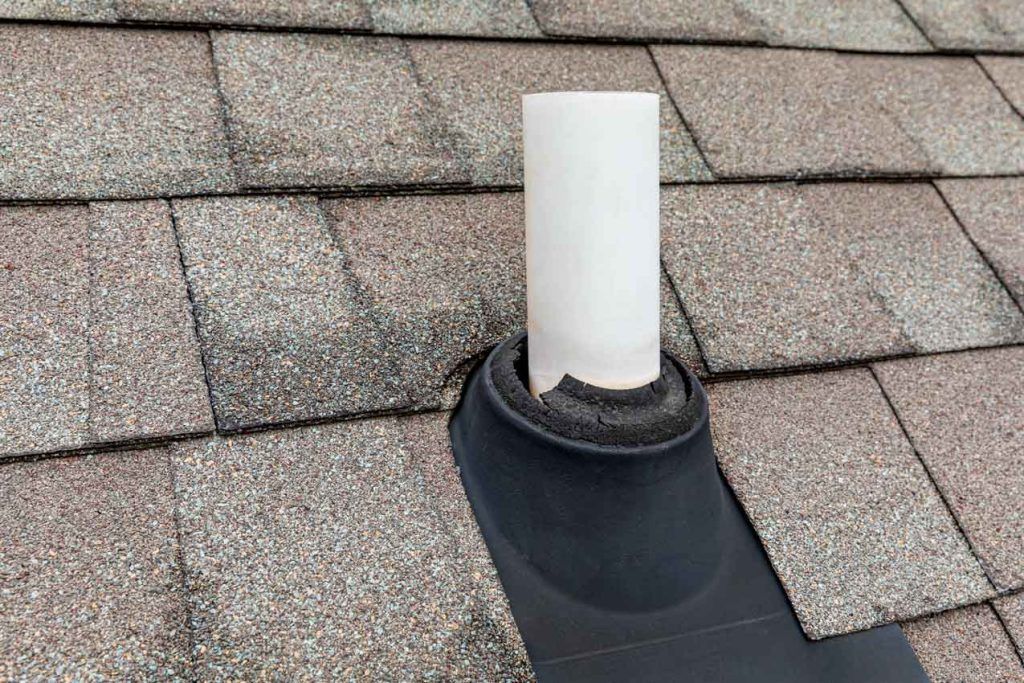
Vent Booting Issues
The rubber “boots” that seal your roof’s vent pipes can crack over time, allowing water to seep in around the pipes.
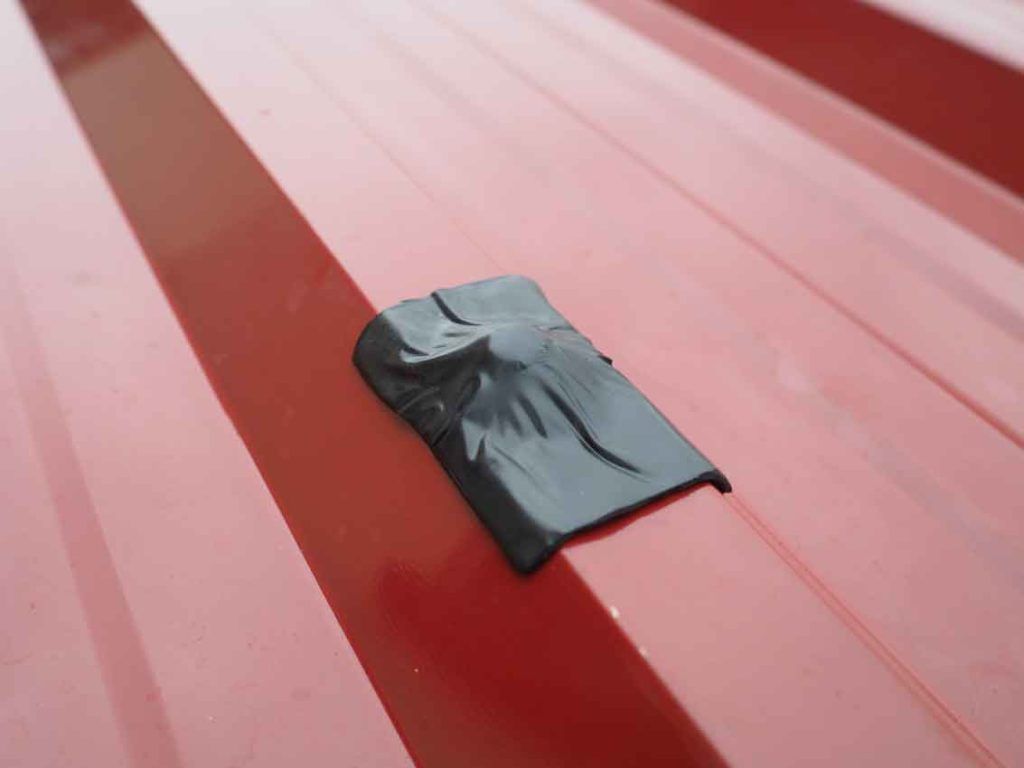
Temporary Fixes for Leaky Roofs
When you discover a roof leak, it’s important to take immediate action to minimize damage until a permanent solution can be implemented. Here are some temporary fixes:
- Tarps : Secure a waterproof tarp over the leaky area to prevent further water intrusion. Make sure to extend it beyond the damaged area and hold the tarp in place it with roofing nails or screws.
- Roofing Tape : Apply roofing tape over small cracks or holes to seal them temporarily. This is a quick and easy solution, but it should only be used as a stopgap measure. Roofing tape can withstand strong winds, but it’s not a permanent fix.
- Roofing Tar : For small leaks or cracks, roofing tar can be applied to seal the damaged area. Be sure to clean the surface thoroughly before applying.

Water Damage Mitigation
To protect your home’s interior from water damage:
- Use Buckets : Place buckets or containers under leaks to catch dripping water.
- Move Furniture : Move any furniture or valuables away from the leak to prevent damage.
- Cover Floors : Use plastic sheeting or waterproof tarps to cover floors and prevent water from spreading.

Safety Precautions
When dealing with roof leaks, safety should always be a priority:
- Avoid Electrical Hazards : Water and electricity don’t mix. If water is leaking near electrical outlets, turn off the power to that area until the leak is fixed.
- Ensure Structural Integrity : If your roof or ceiling is sagging, it may indicate a structural issue. Avoid the area and consult a professional immediately.
DIY Solutions for Minor Roof Leaks
For those who are handy and want to tackle minor roof leaks on their own, here are some DIY solutions:
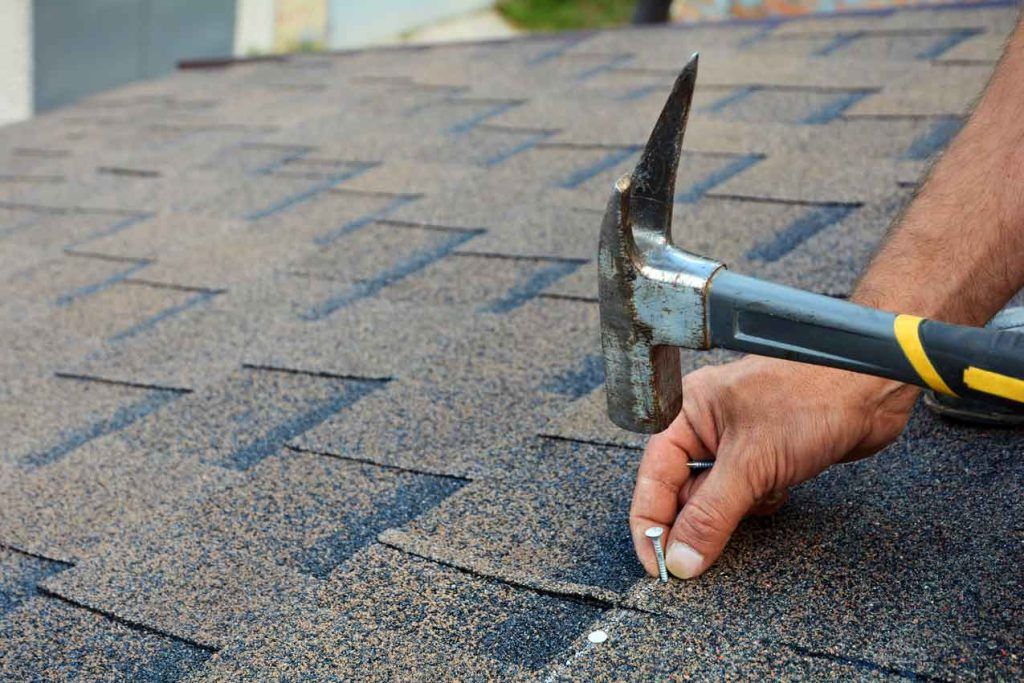
Repairing Shingles
If you’ve identified damaged or missing shingles, here’s how you can fix them:
- Gather Tools and Materials : You’ll need a ladder, roofing hammer, roofing nails, new shingles, and roofing cement.
- Remove Damaged Shingles : Carefully lift the shingles above the damaged one and remove any nails holding it in place. Slide the damaged shingle out.
- Install New Shingle : Slide the new shingle into place and secure it with roofing nails. Apply roofing cement over the nail heads to seal them.
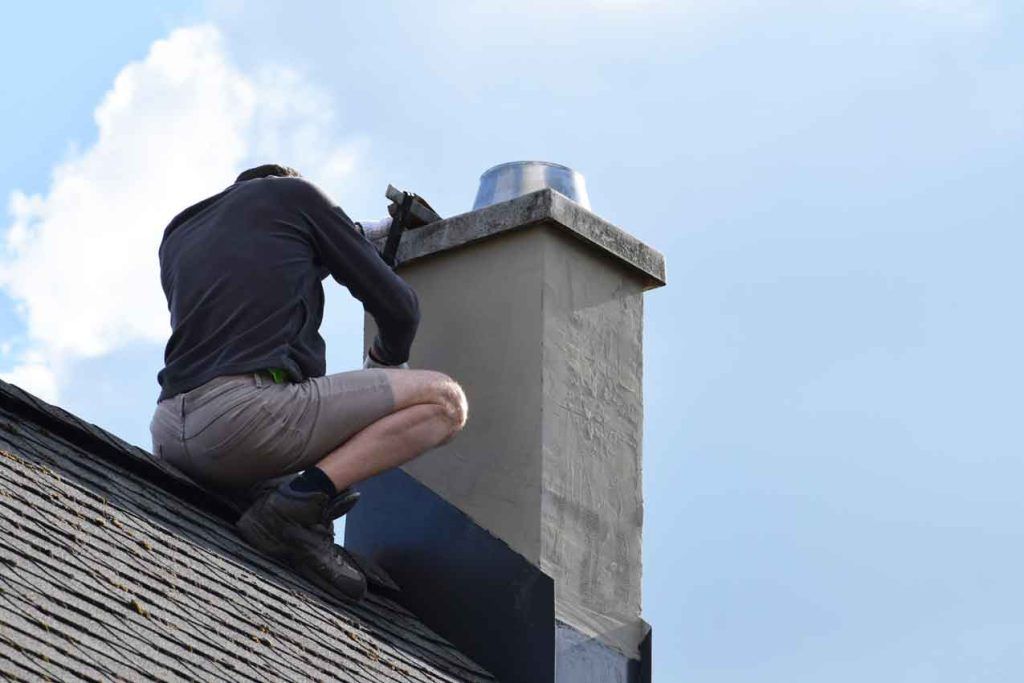
Fixing Flashing
Damaged flashing can lead to leaks around chimneys, vents, and skylights. Here’s how to fix it:
- Remove Old Flashing : Use a pry bar to carefully remove the old flashing without damaging the surrounding shingles.
- Install New Flashing : Cut the new flashing to size and secure it in place with roofing nails. Apply roofing cement around the edges to seal
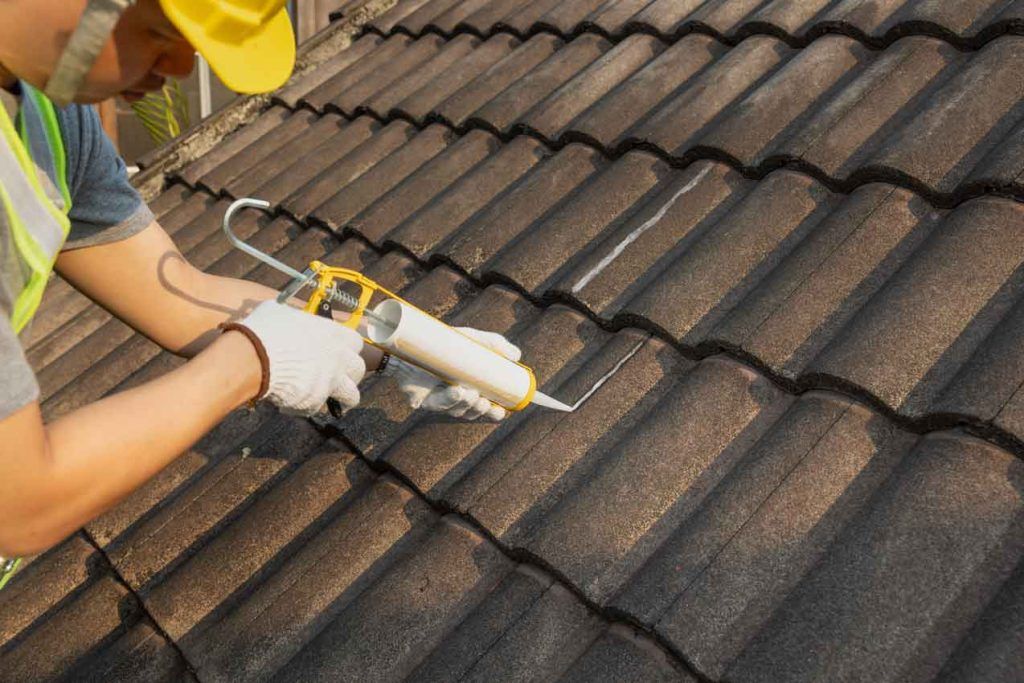
Sealing Small Cracks
Small cracks in your roof can be sealed with roof sealant or caulk:
- Clean the Area : Use a brush to remove any debris or loose particles from the crack.
- Apply Sealant : Apply the sealant evenly over the crack, making sure to cover the entire area. Use a putty knife to smooth out the sealant.
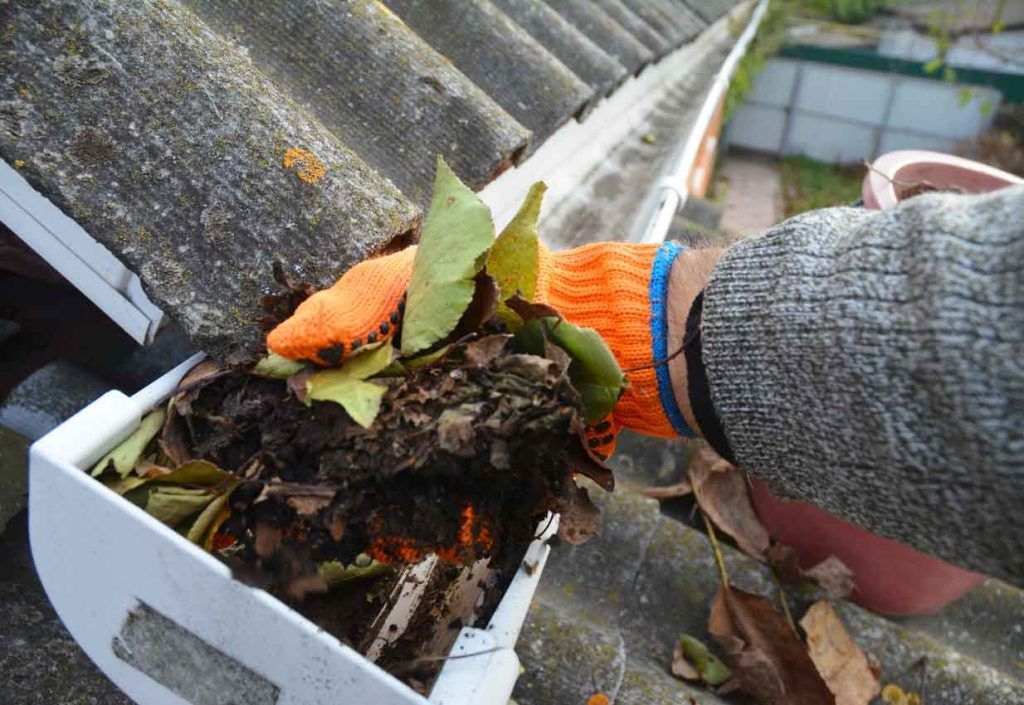
Unclogging Gutters
Clogged gutters can cause water to back up and overflow, leading to leaks. Here’s how to maintain them:
- Remove Debris : Use a gutter scoop or your hands (with gloves) to remove leaves, twigs, and other debris from your gutters.
- Flush with Water : Use a garden hose to flush out any remaining debris and ensure water flows freely through the downspouts.
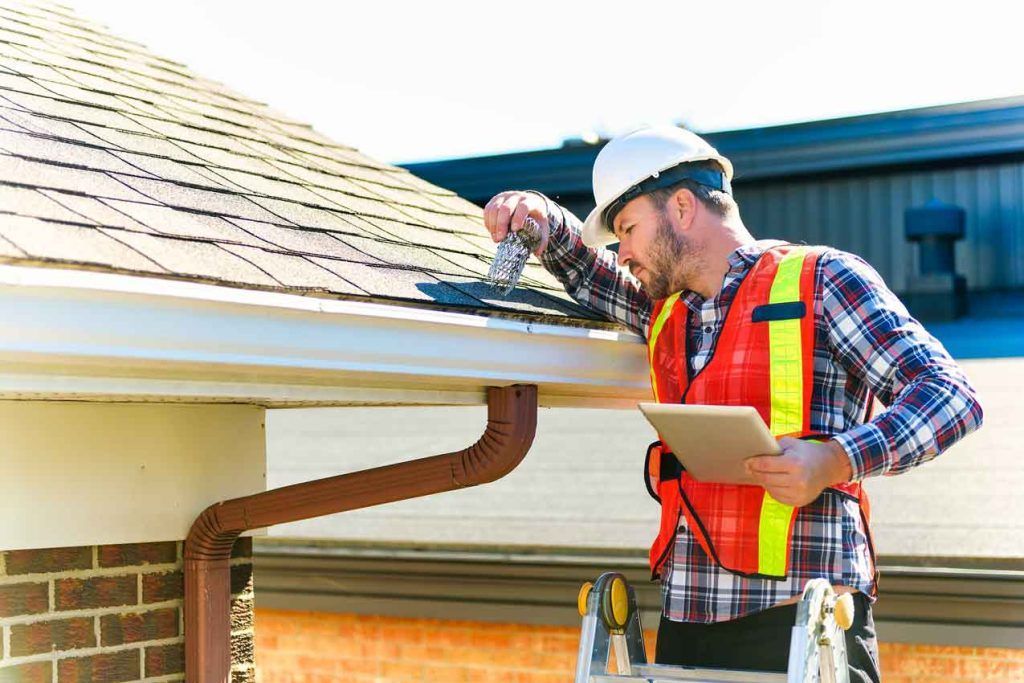
When to Call a Professional
While DIY solutions can be effective for minor leaks, there are times when you should call in a professional roofer:
- Large Leaks : Multiple areas of your roof are leaking, or the leak is severe.
- Structural Issues : Sagging roof or ceiling, which could indicate a structural problem.
- Multiple Problem Areas : If your roof has several issues, it’s best to have a professional assess the overall condition.

Preventing Future Roof Leaks
The best way to deal with roof leaks is to prevent them from happening in the first place. Here are some tips:
- Seasonal Inspections : Inspect your roof at least twice a year—once in the spring and once in the fall. Look for any signs of damage or wear.
- Clear Debris : Remove leaves, branches, and other debris from your roof and gutters regularly to prevent clogs.
- Check Gutters : Ensure your gutters are clear and functioning properly to direct water away from your roof and foundation.
Even if you perform regular maintenance, it’s a good idea to have your roof inspected by a professional at least once a year.
A professional roofer can spot potential issues before they become major problems and recommend necessary repairs or maintenance.
Conclusion
Dealing with a roof leak can be a stressful experience, but with the right knowledge and approach, you can minimize damage and protect your home or business’ roof . Whether you’re tackling minor repairs on your own or calling in a professional, it’s important to address leaks as soon as they’re discovered.
At Select Renovations, we’re here to help you keep your roof in top condition. If you’re experiencing a roof leak or need a professional inspection, don’t hesitate to contact us. We’re just a phone call away.
The post How to Stop Roof Leaks: A Guide by Select Renovations appeared first on SELECT RENOVATIONS.
